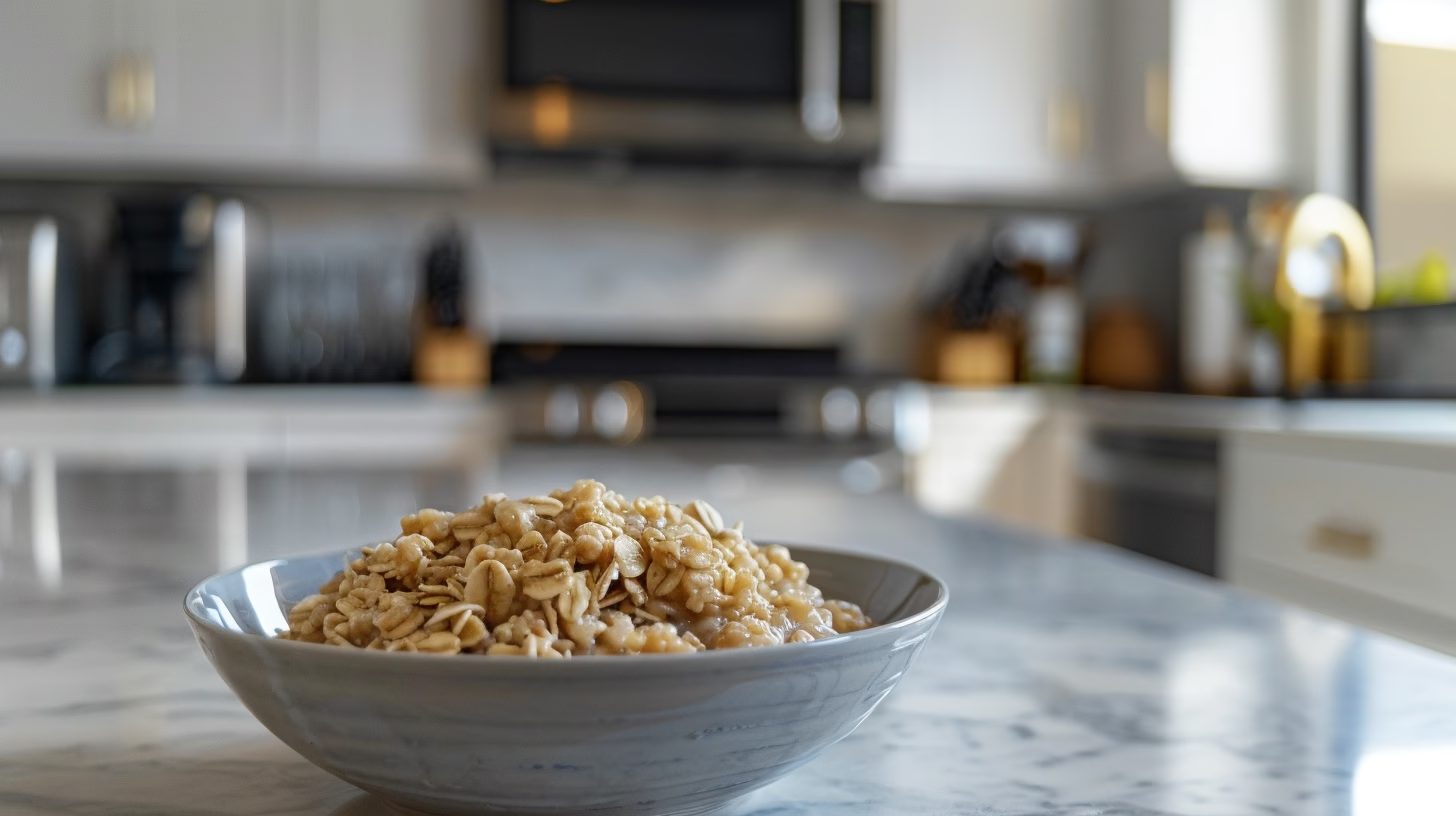
Oatmeal is a wholesome, nourishing breakfast that you can prepare in minutes. This creamy, comforting bowl delivers sustained energy and keeps you satisfied until lunch. Learning how to make oatmeal properly transforms a simple dish into your favorite morning ritual. Whether you prefer it thick or thin, plain or loaded with toppings, mastering the basics ensures you’ll never have mushy or watery results again. I’ve tested dozens of techniques, and I’m sharing the exact methods that work best for every preference.
Perfect Oatmeal
A creamy, nourishing breakfast made with rolled oats, water, or unsweetened milk. Master the liquid-to-oat ratio for consistently smooth results, with customizable toppings for endless variations.
- 1 cup rolled oats
- 1 1/2 cups water or unsweetened milk (adjust based on desired thickness)
- Optional toppings: fresh berries, nuts, honey, cinnamon, banana slices
Bring liquid to a simmer in a saucepan
Add rolled oats, stirring constantly for 1 minute
Reduce heat to low, cover, and let cook for 5 minutes
Stir occasionally to prevent sticking
Remove from heat and let sit, covered, for 1-2 minutes
Serve warm with preferred toppings
For steel-cut oats, use 2 1/2 cups liquid and simmer for 30-35 minutes
Microwave method: Combine oats and liquid in a microwave-safe bowl, microwave for 1-2 minutes
Overnight oats: Mix oats and liquid in a jar, refrigerate overnight
Adjust liquid quantity based on texture preference
Table of Contents
Nutritional Information
Understanding the nutritional value of oatmeal helps you make informed breakfast choices. A typical serving provides excellent fiber, protein, and essential minerals. Here’s what you get in each bowl of properly prepared oatmeal.
| Nutrient | Amount per Serving |
|---|---|
| Calories | 150-180 |
| Protein | 5-6g |
| Carbohydrates | 27-30g |
| Fiber | 4-5g |
| Fat | 3-4g |
| Sugar | 1-2g |
| Sodium | 0-2mg |
Approximate values based on one cup cooked oatmeal made with water or unsweetened milk.
Why This Recipe Works
I’ve discovered that how to make oatmeal comes down to three critical factors: the right liquid-to-oat ratio, proper heat control, and timing. When I first started making oatmeal, I either ended up with crunchy, undercooked grains or a gluey paste. The breakthrough came when I realized that different oat types require different approaches. Steel-cut oats need longer cooking and more patience, while rolled oats soften quickly and can turn mushy if you’re not careful. This guide covers all varieties so you can master whichever type you prefer.
The beauty of oatmeal is its versatility combined with nutritional power. You can prepare it in a saucepan, microwave, or overnight in the refrigerator. Each method produces slightly different textures, but all deliver the same wholesome breakfast foundation. Once you understand the fundamentals, you’ll customize your bowl based on your mood, schedule, and flavor preferences.
What makes this approach foolproof is focusing on incremental adjustments rather than guesswork. If your oatmeal runs too thin, you know exactly what to adjust next time. If it turns too thick, you’ve identified your liquid needs. These small refinements build your confidence and transform you into someone who makes oatmeal instinctively.
Ingredients
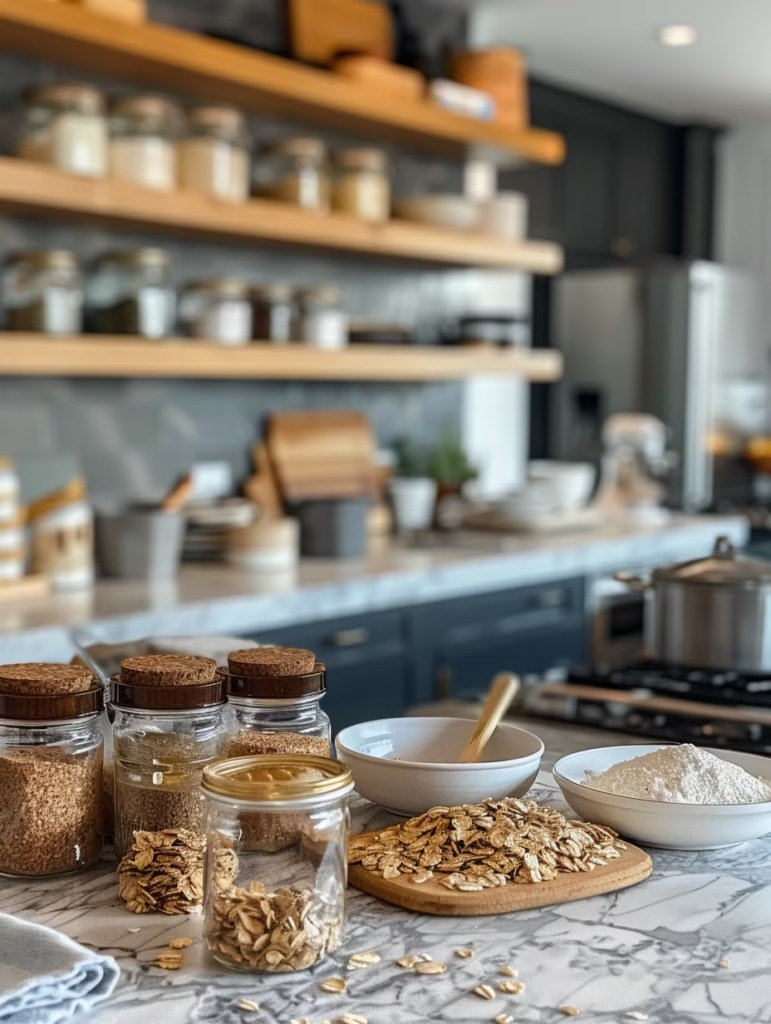
The foundation of excellent oatmeal starts with quality ingredients. You’ll notice the recipe keeps things simple because oatmeal’s strength lies in its wholesome base and your preferred toppings. Here are the core components for making oatmeal that tastes restaurant-quality.
| Ingredient | Quantity | Notes |
|---|---|---|
| Rolled Oats | 1/2 cup | Use certified gluten-free oats if needed; old-fashioned or quick oats work best |
| Water or Milk | 1 cup | Substitute with almond milk, oat milk, coconut milk, or whole milk for creamier results |
| Sea Salt | Pinch | Enhances flavor; use fine sea salt or table salt |
| Cinnamon | 1/4 teaspoon (optional) | Adds warmth and sweetness without added sugar |
| Honey or Maple Syrup | 1 tablespoon (optional) | Use agave nectar or coconut sugar as alternatives |
Chef Tips for Perfect Results
These expert strategies elevate your oatmeal from basic to exceptional. I’ve refined these tips through countless breakfast experiments and taste tests. Implement even a few of these techniques and you’ll notice an immediate improvement in texture and flavor.
- Toast Your Oats First: Warm your oats in a dry pan for 2-3 minutes before adding liquid. This creates a subtle nutty flavor and prevents that raw grain taste that disappoints many people.
- Use a 2:1 Liquid Ratio: Measure two parts liquid to one part oats as your starting point. If you prefer thicker oatmeal, reduce liquid to 1.75:1. This precise ratio eliminates guesswork when you’re learning how to make oatmeal consistently.
- Add Salt Strategically: A pinch of salt intensifies sweetness and complexity without making your bowl taste salty. Salt actually reduces the need for added sweeteners because it enhances perception of flavor.
- Mix in Toppings at the End: Stir in nuts, seeds, and fresh fruit after cooking to preserve their texture and nutritional integrity. If you add them during cooking, they soften excessively and lose their appeal.
- Invest in Medium Heat: Cook on medium rather than high heat to prevent scorching on the bottom. This gentle approach gives the liquid time to fully absorb without creating burnt spots that ruin the entire bowl.
- Let it Rest Briefly: Remove from heat and let your oatmeal sit for one minute before serving. This allows residual heat to finish cooking and thickens the texture naturally without overcooking.
Step-by-Step Instructions
This straightforward method teaches you exactly how to make oatmeal using stovetop cooking. Follow these sequential steps and you’ll achieve perfect results every single time.
Preparation Phase
- Measure one-half cup of rolled oats into a medium saucepan, ensuring you’re using old-fashioned or quick oats rather than steel-cut varieties for this method.
- Toast the oats over medium heat for two to three minutes, stirring occasionally until they release a pleasant nutty aroma and begin to lighten slightly.
- Pour one cup of your chosen liquid (water, milk, or milk alternative) into the saucepan with the toasted oats.
- Add a small pinch of sea salt and stir thoroughly to combine all ingredients evenly.
Cooking Phase
- Bring the mixture to a gentle boil over medium-high heat, watching carefully so the liquid doesn’t boil over the sides of your pan.
- Reduce heat to medium-low once the mixture reaches a boil, then simmer uncovered for five to seven minutes while stirring occasionally.
- Observe the texture closely during the final minutes of cooking. Stir more frequently as the oatmeal thickens to prevent sticking or burning on the bottom.
- Continue cooking until the liquid is mostly absorbed but the oatmeal still maintains a creamy consistency rather than appearing dry or stiff.
Finishing Phase
- Remove the saucepan from heat when your desired consistency is reached, understanding that oatmeal continues thickening slightly as it cools.
- Let the oatmeal rest undisturbed for one minute to allow residual heat to set the texture perfectly.
- Stir in your desired toppings such as fresh berries, sliced bananas, nuts, or seeds after this brief resting period.
- Transfer to your serving bowl and add any additional sweeteners like honey or maple syrup if desired.
- Enjoy your bowl of how to make oatmeal the way professionals prepare it, with full knowledge of why each step matters.
Common Mistakes to Avoid
Learning how to make oatmeal requires understanding which errors derail the best intentions. I’ve made every one of these mistakes myself and discovered the solutions through trial and error. Recognizing these pitfalls helps you troubleshoot quickly and produce superior results.
Using Too Much Liquid
Excessive liquid creates soupy, thin oatmeal that lacks the satisfying creamy texture you’re seeking. The fix involves measuring precisely and starting with the standard 2:1 ratio, then adjusting downward if needed based on your specific oat type and preference. Steel-cut oats absorb more liquid than rolled oats, so verify you’re using the correct variety for this recipe.
Cooking on High Heat
High heat causes oatmeal to scorch on the bottom while remaining underdone in the middle. Medium or medium-low heat ensures even cooking throughout the entire batch and prevents burnt flavors that permanently taint your breakfast. This slower approach takes only slightly longer and produces dramatically better results.
Skipping the Salt
Unseasoned oatmeal tastes bland and one-dimensional despite being made from quality ingredients. Even a tiny pinch of sea salt transforms the flavor profile, making everything taste more vibrant and delicious. Salt doesn’t make oatmeal taste salty; it enhances the natural grain flavors and sweetness of any toppings you add.
Adding Toppings Too Early
Mixing in nuts and seeds during cooking causes them to soften excessively, destroying their appeal and textural contrast. Add toppings after cooking completes so they maintain their crunch and nutritional integrity throughout your meal. This timing creates the pleasant texture variety that makes each spoonful satisfying.
Not Letting It Rest
Serving oatmeal immediately after removing from heat results in too-thin consistency as the liquid continues moving through the grains. One minute of resting allows this process to complete naturally, producing the perfect creamy texture without requiring additional cooking that might burn the bottom.
Variations and Substitutions
Once you master basic oatmeal, exploring variations keeps your breakfasts exciting and accommodates different dietary preferences. These adjustments maintain the core principles of how to make oatmeal while delivering completely different flavor profiles and textures. Each variation works beautifully with the step-by-step method outlined above.
| Ingredient | Substitution | Impact on Flavor |
|---|---|---|
| Rolled Oats | Steel-Cut Oats | Creates chewier texture and nuttier flavor; requires 20-30 minutes cooking time instead of 5-7 minutes |
| Water | Almond Milk | Adds subtle nuttiness and creaminess; use unsweetened variety to control sweetness level |
| Water | Coconut Milk | Delivers tropical undertones and rich creaminess; use lite coconut milk to avoid overwhelming flavor |
| Cinnamon | Pumpkin Pie Spice | Introduces warm spice blend with clove and nutmeg notes; use same amount or slightly less due to complexity |
| Honey | Maple Syrup | Provides earthy maple notes instead of honey’s floral sweetness; use equal amounts interchangeably |
| Honey | Banana (Mashed) | Adds natural sweetness and creaminess without refined sugar; stir in after cooking to prevent browning |
| Plain Oatmeal | Chocolate Oatmeal | Mix 1 tablespoon unsweetened cocoa powder into oats before cooking; adds depth without excessive sweetness |
| Plain Oatmeal | Apple Pie Oatmeal | Replace half the water with unsweetened apple juice and add diced apples; creates dessert-like breakfast |
Serving Suggestions and Pairings
The way you serve oatmeal determines whether it becomes your go-to breakfast or something you tolerate. Strategic toppings and pairings transform a plain bowl into something you genuinely look forward to eating. These suggestions work with any oatmeal preparation method and suit various occasions throughout your week.
For Weekday Mornings: Keep your oatmeal simple with sliced fresh berries, a handful of granola for texture, and a drizzle of honey. This combination takes thirty seconds to assemble and provides sustained energy for hours of work or school. Add Greek yogurt for extra protein that keeps hunger at bay until lunch.
For Weekend Indulgences: Layer your oatmeal with toasted almonds, dark chocolate chips, fresh sliced banana, and a spoonful of almond butter. This approach feels luxurious without requiring extra cooking steps. The combination delivers satisfying flavors that make breakfast feel like a special occasion.
For Fitness-Focused Mornings: Mix in a scoop of vanilla protein powder while the oatmeal is still hot, then top with chia seeds, walnuts, and fresh blueberries. This protein-packed bowl supports muscle recovery and keeps you energized through intense workouts. The combination of oatmeal and protein powder creates a smoothie-like texture many people find more exciting than plain oatmeal.
For Autumn and Winter Seasons: Stir in pumpkin puree and pumpkin pie spice while cooking, then top with cinnamon granola and pecans. This seasonal variation arrives at the perfect temperature for cold-weather mornings and feels warming rather than heavy. The combination became my personal favorite after my first autumn experimenting with seasonal ingredients.
For Tropical-Inspired Breakfasts: Prepare your oatmeal with coconut milk instead of water, then top with shredded coconut, mango chunks, and macadamia nuts. This variation feels like vacation in a bowl and works beautifully year-round. The tropical flavors pair exceptionally well with coconut milk’s natural creaminess.
Storage and Reheating
Preparing oatmeal in advance simplifies busy mornings and ensures you always have nutritious breakfast available. Proper storage techniques maintain quality while preventing the texture deterioration that often disappoints people attempting meal prep. These methods keep your oatmeal fresh and delicious for multiple days.
| Method | Duration | Instructions |
|---|---|---|
| Refrigerator Storage (Cooked) | 3-4 Days | Transfer cooled oatmeal to airtight containers; store in the coldest part of your refrigerator away from odor-producing foods |
| Freezer Storage (Cooked) | 2-3 Months | Portion cooked oatmeal into freezer-safe containers; leave one-half inch headspace for expansion; label with date |
| Microwave Reheating | 2-3 Minutes | Transfer to microwave-safe bowl, add one to two tablespoons milk or water to restore creaminess, heat on fifty percent power while stirring halfway through |
| Stovetop Reheating | 3-5 Minutes | Place oatmeal in saucepan with one-quarter cup milk over medium-low heat; stir frequently until warmed through and creamy |
| Overnight Oats (No Cooking) | 3-5 Days | Mix one-half cup oats with one cup milk and toppings in jar; refrigerate overnight and eat cold or heated next morning |
| Dry Oat Storage (Uncooked) | 6-12 Months | Keep unopened oat packages in cool, dry pantry; transfer opened packages to airtight containers away from humidity |
Frequently Asked Questions
What’s the Best Way to Make Oatmeal If I’m in a Big Hurry?
Prepare overnight oats the evening before by mixing one-half cup oats with one cup milk in a jar, then refrigerate overnight until morning; they require no cooking and taste delicious cold or heated briefly in the microwave. Alternatively, use a microwave method by combining oats, liquid, and toppings in a microwave-safe bowl, then cooking on high for three to five minutes while stirring once halfway through. Both techniques eliminate stovetop preparation entirely while maintaining the nutritional benefits and satisfying nature of how to make oat recipe.
Can I Make Oatmeal the Night Before and Reheat It?
Yes, cooked oatmeal stores beautifully in the refrigerator for three to four days, and you can reheat it quickly each morning using either the microwave or stovetop method. The texture becomes slightly firmer as oatmeal cools, so add a splash of milk when reheating to restore that creamy consistency. Many people find reheated oatmeal actually tastes better because the flavors continue developing overnight, similar to how soup improves with time.
What’s the Difference Between Rolled Oats and Steel-Cut Oats?
Rolled oats (old-fashioned oats) are steamed and flattened, creating the quick-cooking variety that reaches perfection in five to seven minutes. Steel-cut oats are chopped into chunks and cook much slower, requiring twenty to thirty minutes while developing a chewier texture and more pronounced nutty flavor. Choose rolled oats for weekday efficiency and steel-cut oats when you have more time and prefer heartier texture. Neither type is inherently superior; it depends entirely on your schedule and texture preferences.
Why Is My Oatmeal Turning Out Mushy or Too Thick?
Mushiness occurs from cooking too long or using excessive liquid, while excessive thickness results from insufficient liquid or insufficient stirring during cooking. Start by measuring your liquid precisely using the 2:1 ratio and set a timer for exactly five minutes. If your oat recipe still seems too thick after this time, stir in milk one tablespoon at a time until reaching your desired consistency rather than adding water upfront.
Is It Possible to Make Oatmeal Without Any Sweetener?
Absolutely, many people enjoy oatmeal with zero added sweetener when they use naturally sweet toppings like fresh berries, sliced bananas, or a handful of dried fruit. The salt enhances perception of natural grain sweetness, making unsweetened oat recipe feel more satisfying than you might expect. Try this approach for several breakfasts and you may discover you never need added sweeteners once you start appreciating oatmeal’s subtle natural flavors.
Conclusion
Mastering how to make oatmeal transforms breakfast from mundane routine into something genuinely enjoyable. You now understand the precise techniques, ingredient combinations, and timing adjustments that separate exceptional oatmeal from disappointing bowls. Whether you prefer your oatmeal creamy or thick, plain or topped with berries and nuts, these foundational skills adapt to every preference and dietary requirement. Start making oatmeal using these methods this week and experience the difference that knowledge and attention bring to your mornings.
If you’d like to explore more nutritious breakfast options beyond traditional oat recipe, visit our collection of more breakfast recipes for inspiration.
Save your favorite oat recipe preparations and variations for quick reference by following us on Pinterest where we share new ideas constantly.