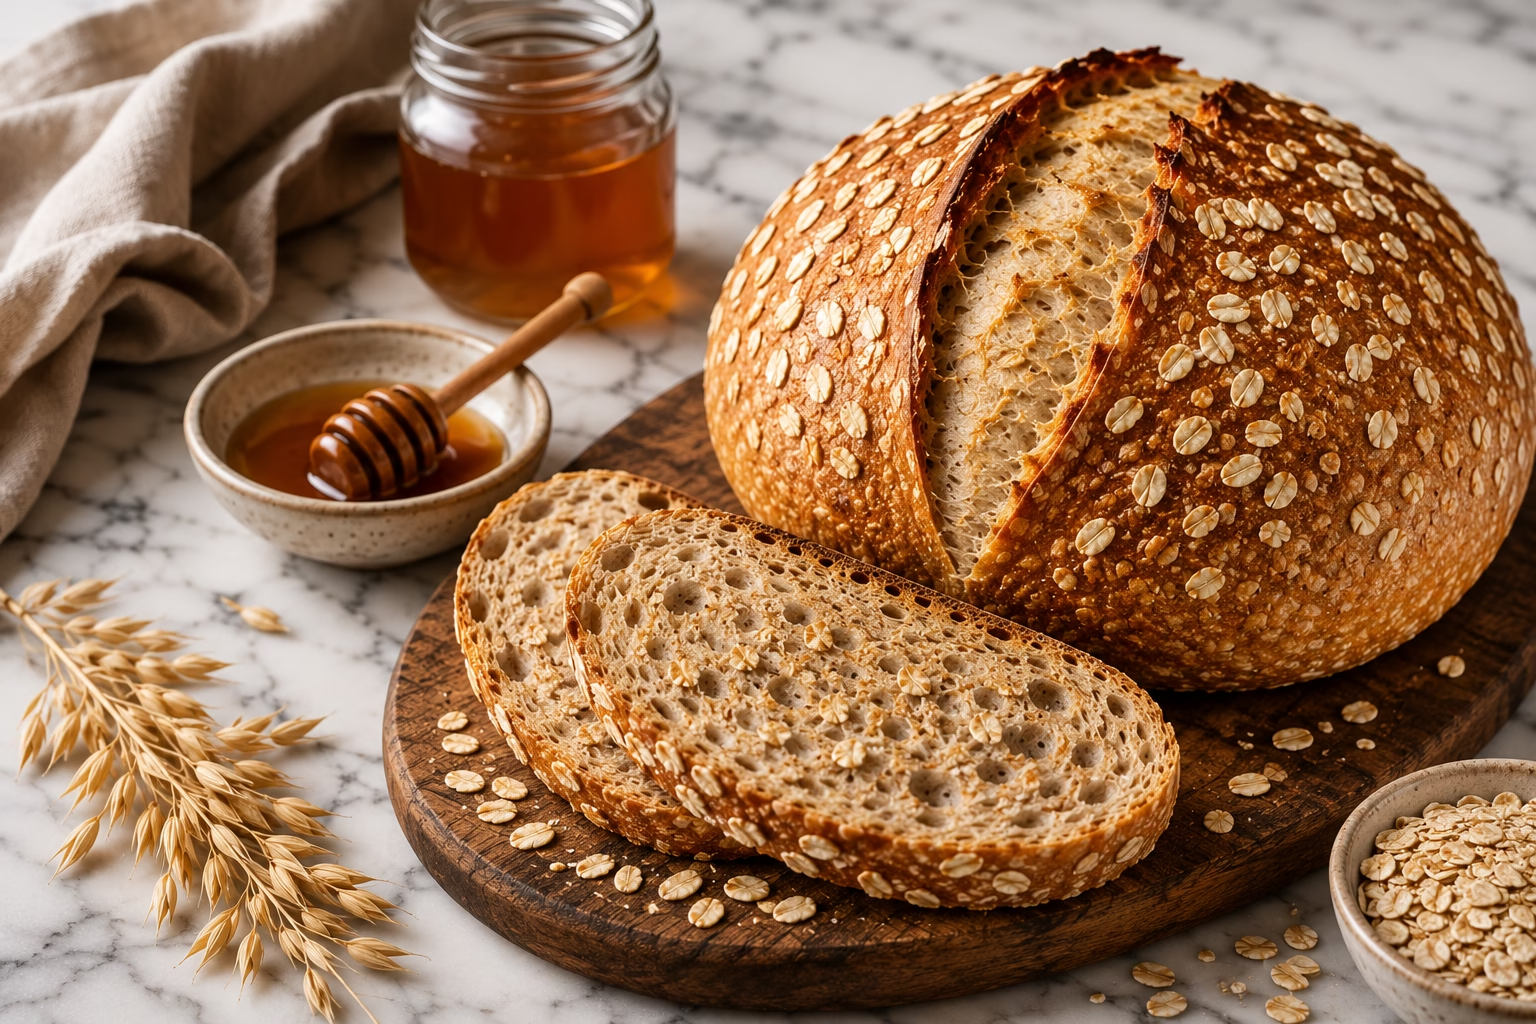
Honey oat sourdough bread for beginners is a simple, no-fuss loaf that combines the tangy depth of sourdough with the subtle sweetness of honey and the hearty texture of rolled oats. This bread delivers incredible flavor and a beautiful rustic crust without requiring professional baking experience. Whether you’re starting your sourdough journey or looking to expand your baking skills, this recipe proves that homemade artisan bread is entirely within reach.
Table of Contents
Table of Contents
Honey Oat Sourdough Bread for Beginners
A simple, beginner-friendly bread featuring the tangy depth of sourdough, subtle sweetness of honey, and hearty texture of rolled oats. Perfect for any meal or baking journey.
- 500g bread flour (or all-purpose flour)
- 350ml filtered water
- 100g active sourdough starter (fed 4-8 hours before)
- 10g sea salt
- 20ml honey
- 50g rolled oats (old-fashioned or steel-cut)
- Extra rolled oats for coating (about 15g)
- Water for scoring
In a large bowl, combine bread flour and filtered water for autolyse (rest) for 30 minutes
Add active sourdough starter, sea salt, honey, and rolled oats. Mix until just combined
Cover and let the dough bulk ferment at room temperature for 6–8 hours (or refrigerate overnight for 12–14 hours)
Turn dough onto a lightly floured surface and shape into a round loaf
Let rest for 30 minutes at room temperature
Coat a bread basket with oats or flour, and shape the loaf into a batard or round shape before placing it in the basket
Cover and let proof for 3–4 hours, or refrigerate overnight to slow-proof
Preheat oven to 475°F (245°C) with a Dutch oven or baking stone inside
Uncover the dough and place it in the Dutch oven with a few tablespoons of water to create steam
Score the loaf with a straight line, sprinkle with extra oats if desired
Bake for 20 minutes with the lid on, then remove the lid and bake for 20–25 minutes more until golden and crusty
Remove from oven and cool completely on a wire rack before slicing
If you don’t have active sourdough starter, create one from scratch over 5-7 days or use a dehydrated starter as instructed.
For a less sour flavor, feed your starter for 4 hours before use; for a deeper tang, wait 8-10 hours.
Honey can be substituted with maple syrup, agave, or brown sugar. Rolled oats can be replaced with spelt or rye flakes if preferred.
This bread freezes well for up to 3 months, stored in an airtight bag.
Why You’ll Love This Honey Oat Sourdough Bread

This loaf checks every box for beginner bakers. The tangy, complex flavor develops naturally through fermentation, meaning you don’t need fancy ingredients or techniques to taste restaurant-quality results. Rolled oats add wonderful texture and subtle nuttiness that pairs beautifully with honey’s gentle sweetness.
You’ll appreciate the straightforward timeline too. The dough requires just a few minutes of hands-on work, then does the heavy lifting during bulk fermentation overnight. The result is a stunning loaf with a crackling crust, soft crumb, and that signature sourdough flavor that deepens with each slice.
Beyond taste, this bread freezes beautifully, keeps for days on the counter, and makes your kitchen smell absolutely incredible. It’s equally at home alongside breakfast butter and jam or serving as the base for a satisfying sandwich at lunch.
Ingredients for Honey Oat Sourdough Bread
Main Dough
- 500g bread flour (or all-purpose flour)
- 350ml filtered water
- 100g active sourdough starter (fed 4-8 hours before)
- 10g sea salt
- 20ml honey
- 50g rolled oats (old-fashioned or steel-cut)
For Shaping and Baking
- Extra rolled oats for coating (about 15g)
- Water for scoring
Ingredient Notes
If you don’t have active sourdough starter, you can build one from scratch using equal parts flour and water over 5-7 days, or purchase a dehydrated starter online and rehydrate it according to package directions. For a less sour flavor, use your starter after just 4 hours of feeding. For deeper tanginess, wait 8-10 hours.
Honey can be substituted with maple syrup, agave, or brown sugar in equal measure. The sweetness level remains similar, though maple adds earthiness and brown sugar creates a slightly denser crumb. All-purpose flour works perfectly here; bread flour simply adds a bit more structure and chew. Rolled oats can be replaced with spelt flakes, rye flakes, or additional bread flour if oats aren’t available, though texture will shift slightly.
Use filtered or dechlorinated water if possible, as chlorine can slow fermentation. Room temperature water between 75-78°F (24-26°C) ensures consistent rising times.
Step-by-Step Instructions
Step 1 – Mix and Autolyse
Combine 500g bread flour, 350ml water, and 50g rolled oats in a large mixing bowl. Stir until no dry flour remains, creating a shaggy dough. Cover the bowl with a damp kitchen towel and let rest at room temperature for 30-60 minutes. This autolyse period allows flour to fully hydrate, developing better gluten structure and flavor without kneading.
Step 2 – Add Starter, Salt, and Honey
After the autolyse, add your 100g active sourdough starter, 10g sea salt, and 20ml honey to the dough. Mix thoroughly using a wet hand or wooden spoon, incorporating everything until a cohesive dough forms. The mixture will feel slightly wet and loose, which is correct. Allow the dough to rest for 20-30 minutes before beginning stretches and folds.
Step 3 – Bulk Fermentation with Stretches and Folds
Over the next 4-5 hours at room temperature (72-75°F / 22-24°C), perform 4 sets of stretches and folds, spaced 30 minutes apart. To perform a stretch and fold: wet your hand, grab one side of the dough, stretch it up and fold it over the center. Rotate the bowl and repeat from all four sides. This builds strength without aggressive kneading.
After the final set of stretches and folds, let the dough rest undisturbed for the remaining bulk fermentation time. The dough should increase in volume by about 50-75% and feel noticeably airy when fully fermented.
Step 4 – Pre-Shape and Bench Rest
Turn the dough onto a lightly floured work surface. Pre-shape it into a round, then let it rest uncovered for 20-30 minutes. This intermediate proof relaxes the gluten, making final shaping easier and promoting beautiful oven spring.
Step 5 – Final Shape and Cold Overnight Fermentation
Dampen your work surface lightly with water. Using a gentle, deliberate motion, shape the dough into a tight round or oval, creating surface tension. Place it seam-side up into a floured banneton basket or bowl lined with a floured kitchen towel.
Cover the basket loosely with a plastic bag or shower cap. Refrigerate for 12-16 hours. Cold fermentation develops deeper flavor, makes scoring easier, and gives you flexibility in your baking schedule.
Step 6 – Score and Bake
About 1 hour before baking, preheat your oven to 475°F (245°C) with a Dutch oven or covered baking vessel inside. Once preheated, carefully remove the dough from the fridge and turn it seam-side down onto parchment paper.
Using a bread lame, sharp knife, or clean razor blade, score the top with a single decisive slash at a 30-degree angle, about 1/4 inch deep. Brush the top lightly with water and sprinkle with extra rolled oats if desired.
Transfer the dough (on parchment) into the hot Dutch oven. Cover and bake for 20 minutes. Remove the cover and bake for 25-30 additional minutes until deep golden brown. The crust should sound hollow when tapped on the bottom. Cool completely on a wire rack for at least 1 hour before slicing.
Pro Tips for Success
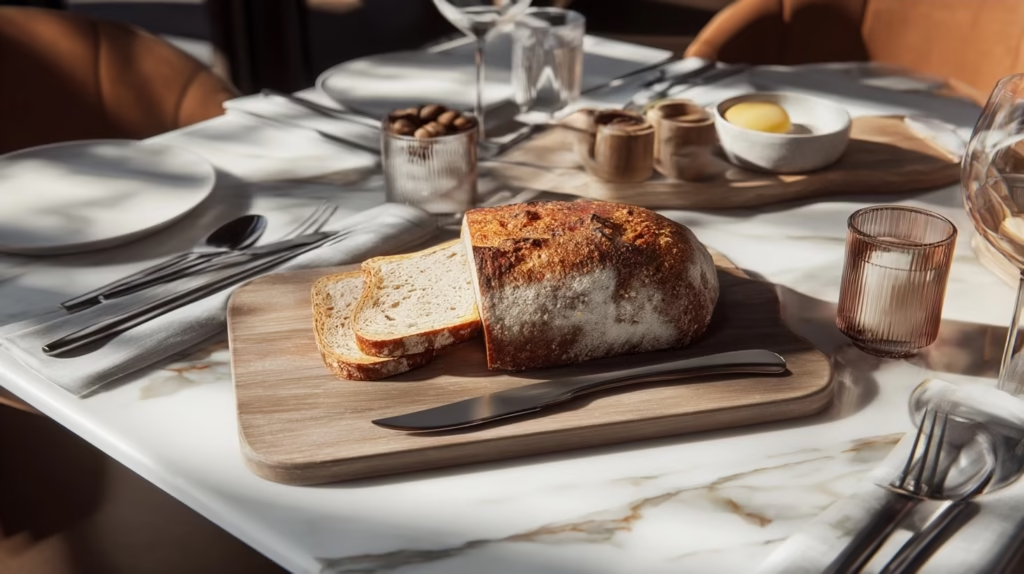
- Keep a fermentation log: Track room temperature, feeding times, and rising stages in a simple notebook. Patterns emerge quickly, helping you refine timing for your specific kitchen environment.
- Check starter readiness with the float test: Drop a small spoonful of your starter into water. If it floats, it’s bubbly enough and ready to use. If it sinks, feed it again and wait longer.
- Don’t skip the cold fermentation: Overnight refrigeration is not a shortcut; it’s a feature that dramatically improves flavor and makes shaping simpler. Plan your baking day accordingly.
- Use a Dutch oven or covered baker: Trapping steam during the first 20 minutes of baking creates that beautiful, crackling crust. Uncovered baking produces a tougher, less developed crust.
- Invest in a simple thermometer: A $15 instant-read thermometer removes guesswork. Fully baked bread registers 205-210°F (96-99°C) at the center.
- Let it cool completely: Slicing warm bread tears the crumb. The cooling process allows structure to set, yielding clean, beautiful slices.
Flavor Variations
Cinnamon Honey Oat: Add 2 teaspoons ground cinnamon to the dry ingredients before mixing. The warmth complements honey beautifully and adds depth without overpowering the sourdough tang.
Walnut Honey Oat: Toast 75g chopped walnuts in a dry skillet for 3-4 minutes until fragrant, then fold them into the dough after the final set of stretches and folds. Walnuts add richness and a pleasant bitterness that balances honey’s sweetness.
Apple Cider Honey Oat: Replace 50ml of the water with unsweetened apple cider. This adds subtle fruity notes and slight acidity that enhances sourdough complexity.
Multigrain Honey Oat: Mix 30g rolled oats with 15g each of flax seeds, sunflower seeds, and millet. Toast the seed mixture together before adding to the dough for nuttier flavor and added nutritional density.
Herb Honey Oat: Add 1 tablespoon fresh rosemary (finely chopped) or 1 teaspoon dried oregano to the dough after mixing in the starter. Herbs create an herbaceous undertone that works surprisingly well with honey and oats.
Serving Suggestions
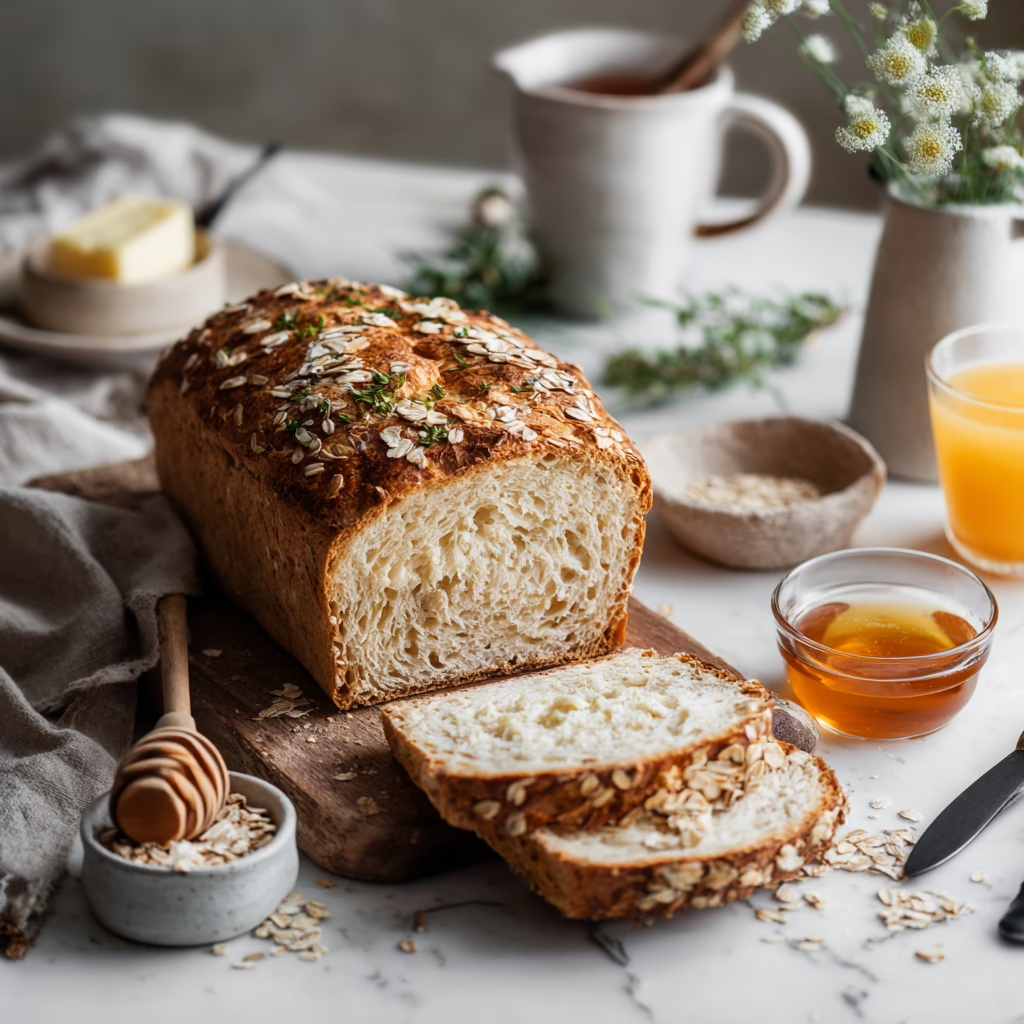
This bread shines simplest: toasted with real butter and your favorite preserves, or fresh with soft goat cheese and sliced pear. The natural sweetness of honey and oats pairs wonderfully with whipped ricotta, sliced strawberries, and a drizzle of raw honey for breakfast or brunch.
For lunch or dinner, it’s a perfect vehicle for savory applications. Layer thick slices with quality deli turkey, fresh greens, ripe tomato, and tangy mustard. The bread’s slight sweetness and subtle nuttiness elevate ordinary sandwiches into something memorable.
Cube slightly stale pieces for panzanella salad, or dry them out completely for homemade breadcrumbs. The sourdough tang adds tremendous depth to salads and coatings that plain white bread cannot match.
Storage and Freezing Instructions
Once completely cool, store your bread in a paper bag at room temperature for up to 3 days. Paper allows the crust to remain crispy while the interior stays moist. Avoid plastic bags, which trap steam and soften the crust.
To freeze, wrap the completely cooled loaf tightly in plastic wrap, then place it in a freezer bag. Label with the date and freeze for up to 3 months. Thaw at room temperature in the bag for 2-3 hours, then refresh in a 375°F (190°C) oven wrapped in foil for 15-20 minutes to restore crust crispness.
Sliced bread freezes beautifully too. Wrap individual slices in parchment, layer in a freezer bag, and pull out pieces as needed. Toast directly from frozen for quick, fresh-tasting breakfast toast any morning.
Nutrition Facts (Per Serving)
| Nutrient | Amount (per 100g slice) |
|---|---|
| Calories | 245 |
| Protein | 8g |
| Carbohydrates | 48g |
| Fat | 2g |
| Fiber | 3g |
| Sodium | 380mg |
Values are approximate and based on standard ingredients. Whole grain variations or additional mix-ins will adjust nutrition slightly. Sourdough fermentation reduces gluten presence compared to yeast bread, making it easier to digest for many people.
FAQ About Honey Oat Sourdough Bread
How do I know if my sourdough starter is ready to use?
A mature starter ready for baking should double in volume within 4-8 hours of feeding, smell pleasantly sour but not acetone-like, and have a bubbly, airy texture. The float test is your best indicator: drop a small spoonful into a glass of water. If it floats, it has enough gas production to leaven your dough effectively. If it sinks, feed it again and wait another 4-8 hours. Consistency matters most when starting out; prioritize using starter that’s visibly active and bubbly rather than hitting an exact timing window.
Can I make this recipe without a Dutch oven?
Yes, though results improve noticeably with one. If you don’t have a Dutch oven, try inverting a large, oven-safe bowl or stockpot over your dough. Alternatively, create a steam environment by placing a shallow pan of boiling water on the oven floor (away from direct heat) when you put the bread in. Bake covered with foil for the first 20 minutes, then uncovered. The crust won’t be quite as crackling, but you’ll still get very good results. Some bakers successfully use covered cast iron skillets or ceramic bread clochés as substitutes.
What does bulk fermentation mean, and how long should it take?
Bulk fermentation is the first long rise where your dough develops flavor, strength, and gas production all at once. It typically lasts 4-5 hours at room temperature (72-75°F / 22-24°C), though it can vary based on starter strength, ambient temperature, and flour type. You know it’s done when the dough has increased about 50-75% in volume and jiggles slightly when you gently shake the bowl. A visual cue is more reliable than a timer; colder kitchens need longer fermentation, and warmer ones need less. If you’re uncertain, perform a poke test: gently poke the dough with a floured finger. If the indent springs back halfway, it needs more time. If it springs back completely, it may be overfermented.
Why does sourdough taste sour, and can I control the sourness level?
Sourdough’s tang comes from lactic and acetic acids produced during fermentation by wild yeasts and bacteria in your starter. Cold fermentation (overnight in the fridge) increases acidity and sourness. For a milder loaf, skip the cold fermentation and bake after just 2-3 hours at room temperature. For maximum sour flavor, extend cold fermentation to 20-24 hours. Your starter’s age also matters; older, more established starters tend to produce more complex, tangier bread. The type of flour influences sourness too; whole grain and rye flours generally produce more pronounced tang than white bread flour.
How do I score my bread, and what’s the purpose of scoring?
Scoring means making deliberate cuts on the dough’s surface using a sharp blade before baking. The primary purpose is controlling where your loaf expands during the oven spring phase, guiding that expansion upward rather than creating random tears. A single confident slash at 30 degrees works beautifully for beginners. Use a bread lame (a specialized tool), sharp chef’s knife, or clean razor blade. The cut should be about 1/4 inch deep and cover one-quarter to one-third of the loaf’s length. Make the cut quickly and decisively; hesitation creates a ragged edge. Scoring also creates that dramatic “ear” at the cut edge, which bakers love visually and for texture contrast.
Can I adapt this recipe to make a sweeter dessert-style bread?
Absolutely, though it requires slight adjustments. Increase honey to 40-50ml (nearly double) and add 1-2 tablespoons of sugar. Consider adding 1 teaspoon vanilla extract and warming spices like cinnamon or nutmeg. Fold in 75-100g of mix-ins like dried cranberries, raisins, chopped dates, or dark chocolate chips during bulk fermentation. The dough will be slightly sweeter, but maintain the sourdough tanginess that makes this bread special. Note that higher sugar content ferments faster, so reduce bulk fermentation time by 30 minutes to avoid overproofing. Bake as directed; the exterior will caramelize beautifully due to the increased sugar.
Final Thoughts
Honey oat sourdough bread for beginners proves that beautiful, complex homemade bread isn’t reserved for professional bakers or specialists. This recipe respects your time and experience level while delivering results that rival bakery loaves. The combination of tangy sourdough complexity, honey’s gentle sweetness, and oats’ hearty texture creates something genuinely special on your breakfast table or sandwich plate.
Start your first loaf this weekend. You’ll spend maybe 20 minutes on active work, and the rest happens naturally through fermentation. Trust the process, take notes, and don’t stress about perfection on attempt one. Each loaf teaches you something about your kitchen, your starter, and your style as a baker.
Before long, you’ll develop an intuition for this dough. You’ll know by feel when it’s ready to shape, by scent when it’s perfectly fermented, and by sound when it’s properly baked. That knowledge is worth far more than any single perfect loaf. Welcome to the deeply rewarding world of sourdough baking.
Explore more breakfast recipes on our site to discover additional oat-based morning dishes that complement this chocolate cereal beautifully.
Follow us on Pinterest for daily breakfast inspiration and stay updated with new recipe releases directly to your boards.